Import and export
Import a virtual machine from an OVA or OVF package and export one as an OVF package in the console, and through transfer leases with the CLI or the API.
An OVF package describes a virtual machine in an XML descriptor and carries its disks as separate files; an OVA is the same package in one archive. The console imports and exports packages from its page Import and export. For an import you need the package on your computer, a resource group and a datastore with enough free space, and a network of the cluster for each network that the package names. For an export you need a powered-off machine that you may export.
In the console
To import a package:
On the home page, select Import and export, or open the actions menu of a host and select Import OVA or OVF.
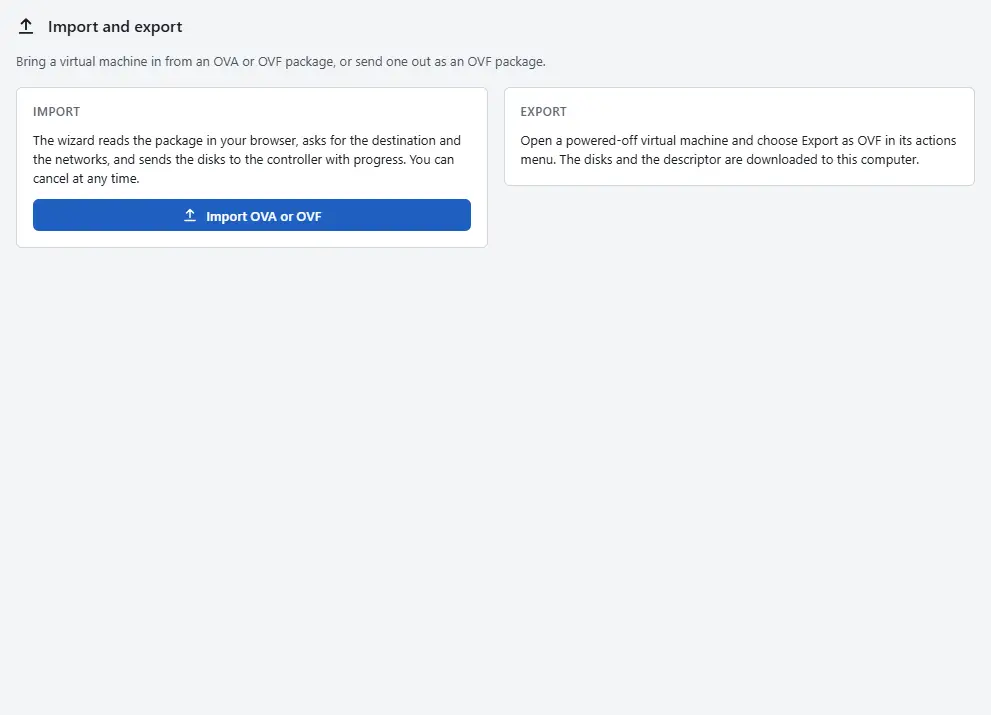
Select Import OVA or OVF. The wizard Import virtual machine opens. In the step Package, select Choose files and choose an OVA file, or an OVF file together with its disk files. The files stay on your computer. The console reads the descriptor and shows its name, the download size, the deployed size and the number of networks. When disk files are missing, it lists them.
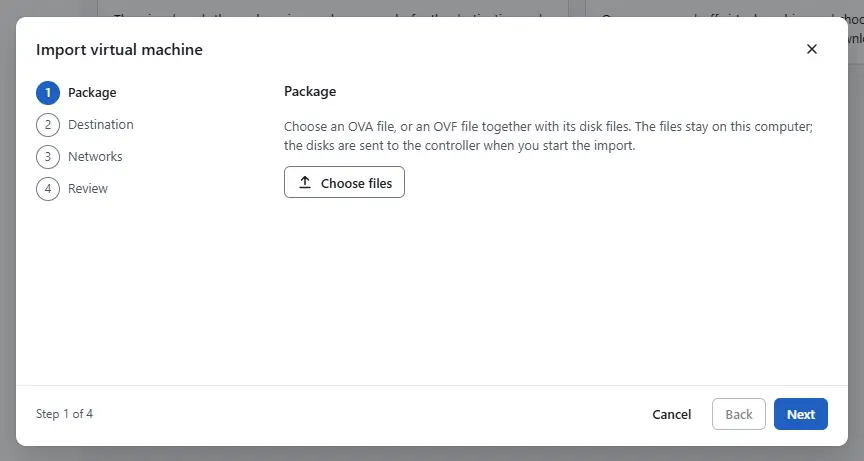
- In the step Destination, enter the Name of the virtual machine, choose the Resource group and the Datastore, and optionally the Folder and the Host. The console compares the free space of the datastore with the space the machine needs.
- In the step Networks, connect each network of the package to a network of the cluster. A network left unconnected leaves its adapters out.
- In the step Review, check the processors, the memory, the adapters and the disks, and select Start import.
- Keep the page open while the disks are sent. It shows the progress per file, and Cancel import stops the import. When it ends, select Open the virtual machine.


To export a virtual machine:
- Power the machine off.
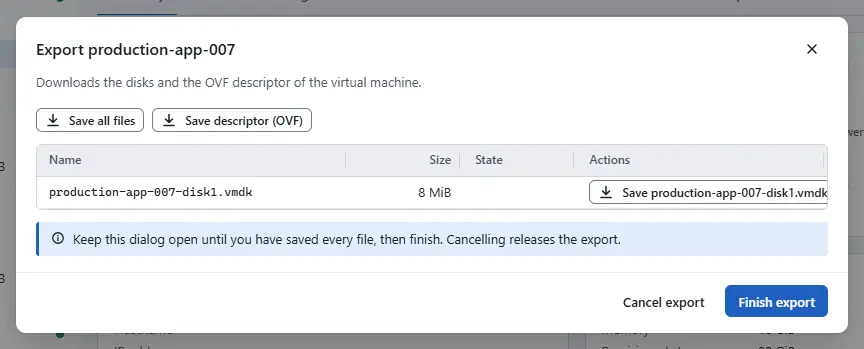
- Select Export as OVF under More actions, and select Prepare export. The controller prepares the disks.
- Select Save all files to save every disk, or save the files one by one, and select Save descriptor (OVF) to save the OVF descriptor.
Keep the dialog open until you have saved every file, then select Finish export. Cancel export releases the export without finishing.

Result
After an import, the machine is in the inventory in the folder you chose, powered off. After an export you hold the disk files and the descriptor on your computer. After the import lists the checks for an imported machine, and Import an OVA or OVF package describes what an import carries over.
Automation
With the CLI
An import goes through a transfer lease: a short-lived object that names the files to send or receive. First parse the descriptor, then build the plan, then import it. The three requests take a JSON body that holds the OVF document in ovfDescriptor, as one escaped string:
kyvernon ovf parse --body-file parse.json
kyvernon ovf import-spec --body-file import.json
kyvernon ovf import-vapp --pool <pool> --body-file import.jsonimport.json:
{
  "datastoreId": "datastore-1",
  "entityName": "web-01",
  "folderId": "group-v5",
  "networkMapping": [{"name": "VM Network", "networkId": "network-1"}],
  "ovfDescriptor": "<?xml version=\"1.0\"?>..."
}
parse reads the descriptor. import-spec returns the plan: the machine that would be created with its disks, adapters and CD/DVD drives, plus warnings and errors; an adapter whose network is not mapped is left out with a warning. import-vapp creates the machine and returns a lease. Send each file that the lease marks requireUpload, then complete the lease:
kyvernon nfc get <lease>
kyvernon nfc upload <lease> disk-0.vmdk ./disk-0.vmdk
kyvernon nfc progress <lease> --percent 100
kyvernon nfc complete <lease>
nfc abort <lease> cancels the transfer. To export, ask for a lease on the machine, download its files and complete the lease:
kyvernon vm export <id>
kyvernon nfc download <lease> disk-0.vmdk --to disk-0.vmdk
kyvernon nfc complete <lease>
ovf create-descriptor builds the descriptor from the metadata of the exported files; its body names the machine (vmId) and the files (ovfFiles) and may set name and includeImageFiles.
With the API
| Operation | Request |
|---|---|
| Parse a descriptor | POST /v1/ovf/parse |
| Plan an import | POST /v1/ovf/import-spec |
| Import | POST /v1/resource-pools/{id}/import-vapp |
| Export | POST /v1/vms/{id}/export |
| Read, progress, complete, abort | GET /v1/nfc-leases/{id}, POST .../progress, POST .../complete, POST .../abort |
| Send or fetch a file | PUT or GET /v1/nfc-leases/{id}/files/{name} |
| Build a descriptor | POST /v1/ovf/create-descriptor |
A lease reports its state (initializing, ready, done or error), the transferProgress and initializeProgress as percentages, and the list of files with their transfer URLs. Tools written for the vSphere API reach the same functions through ImportVApp, ExportVm and the OVF manager.
Related
Version 0.1. Last changed: 2026-11-14