After the import
Check the networks, turn on change tracking, start the imported virtual machine, check the guest agent and run its first backup in the console.
An imported virtual machine is powered off, its adapters are attached to the networks you connected, and change tracking is off. These checks bring it to the state in which it runs and is backed up like any other. The import has to be complete: the machine is in the inventory and the import page reported success (Import an OVA or OVF package).
In the console
Select the virtual machine in the inventory and open the Networks tab. An adapter whose network was not connected in the import was not created, and the review of the wizard reported it. The MAC address is the one of the package when it stated one, and a generated one otherwise.
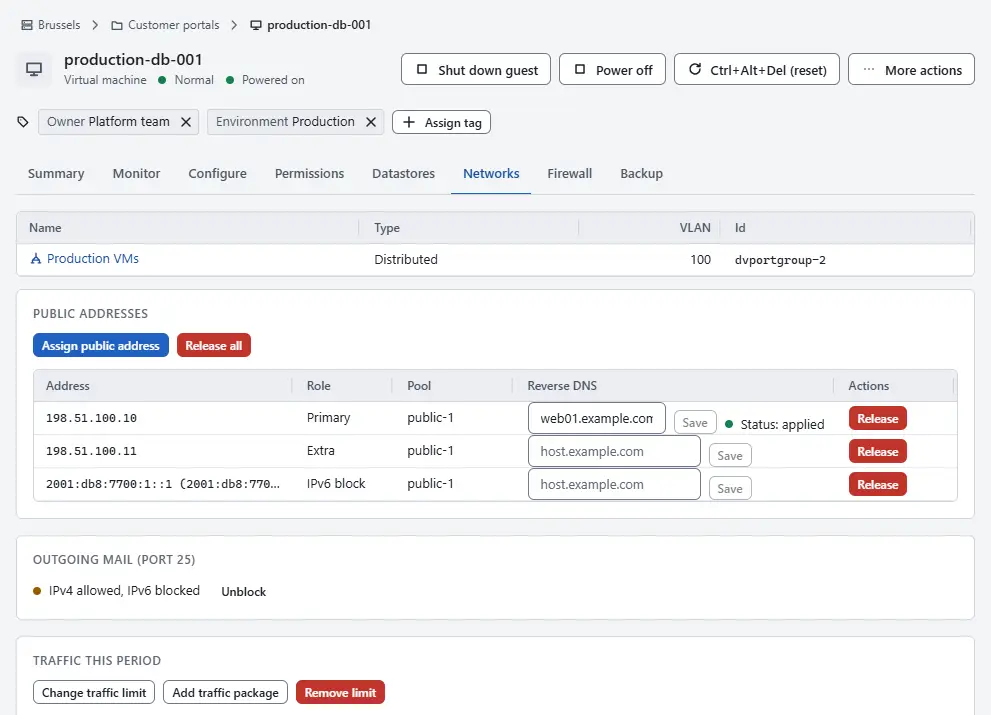
- To add an adapter, select Edit settings, then Add network adapter and choose the network. To connect an existing adapter to another network, select Migrate under More actions and choose Network of the adapters, see Relocate. Both need the machine to be powered off.
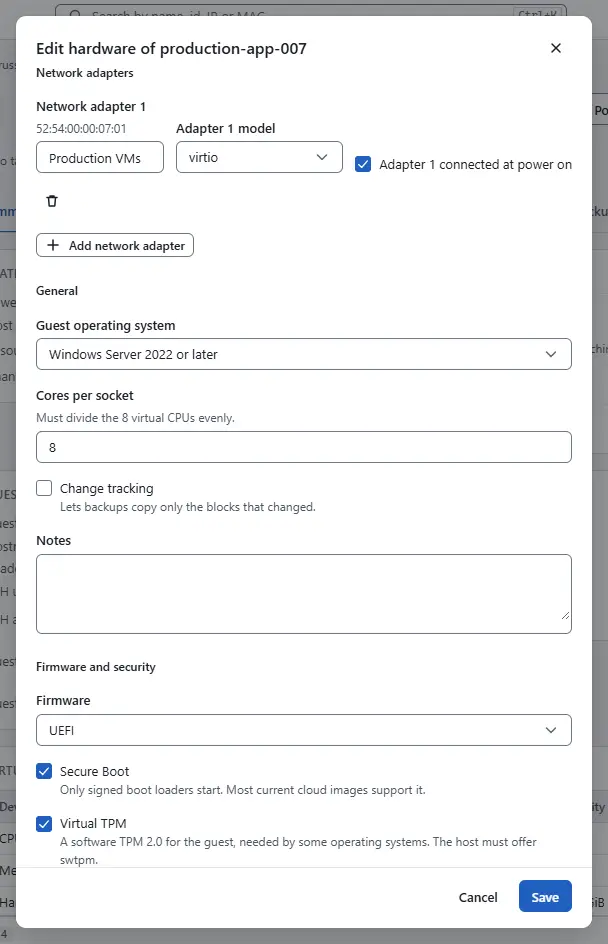
Backup uses change tracking, and an imported disk has it off. Under General in the same dialog, select Change tracking and select Save. The state card of the summary then shows Enabled. Change tracking can only be turned on while the machine is powered off.
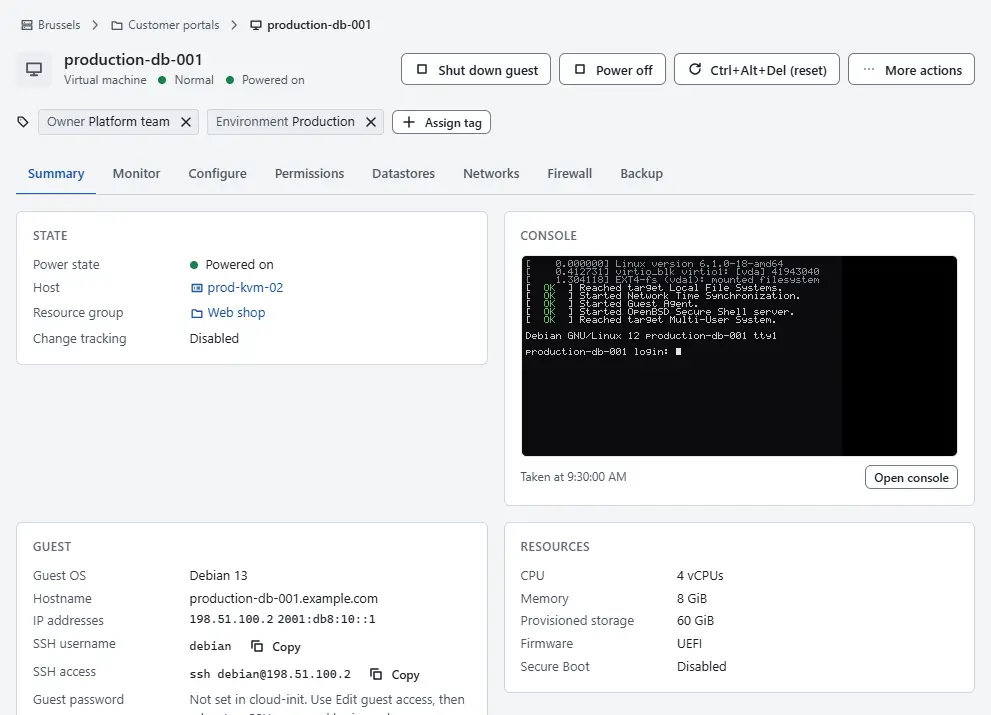
- Select Power on, then Open console under More actions. The guest should reach its login prompt.
On the Summary tab, read the card Guest. Guest agent shows Running once the guest agent has started, and IP addresses lists the addresses of the guest. Check in the guest that the network works with the address it should have and that the disks are mounted. Static addresses configured by interface name may need an adjustment, and the device names changed to virtio names, see Prepare guests.
- A guest that does not boot usually lacks the virtio storage driver, or has other firmware than the one it was installed with. Correct the firmware with the machine powered off, as described in Edit hardware. For a missing driver, power the machine off and fix the guest on the source platform, or from a rescue environment, then export and import again.
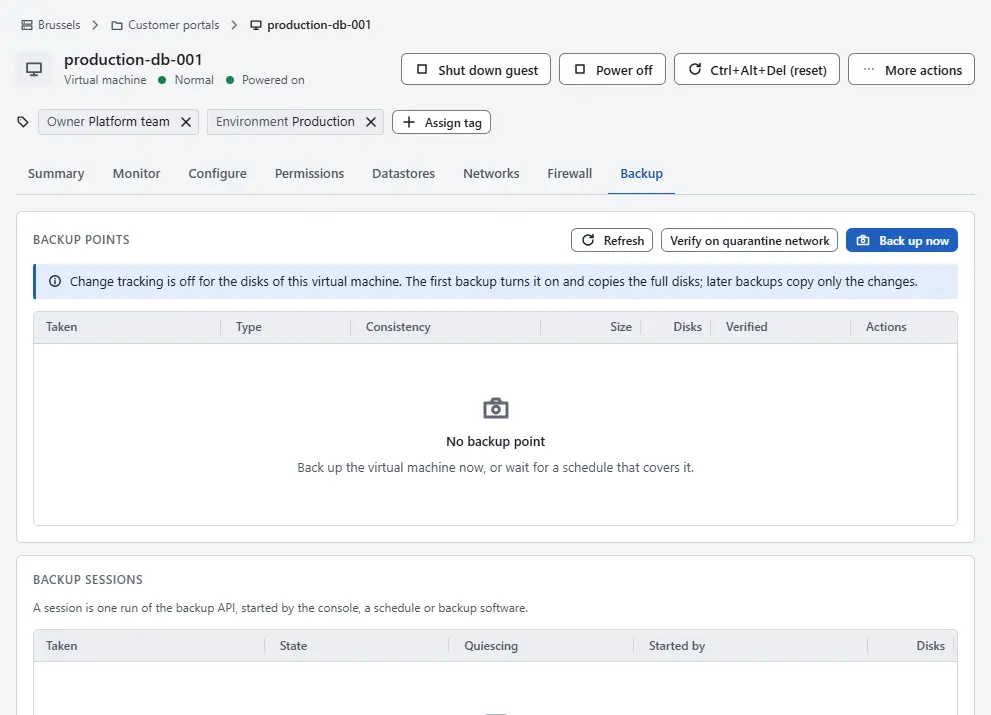
Open the Backup tab and select Back up now. The first backup of the machine is a full one, and later ones are incremental. When change tracking is off, the tab says so and asks you to turn it on first.


Backup jobs that used the vSphere API on the source platform can point at the compatible endpoints of Kyvernon, see Backup software and the vSphere API. When the machine runs on Kyvernon and its backup is taken, retire the original on the source platform according to your own plan. Kyvernon does not touch the source.
Result
The virtual machine runs on Kyvernon with its networks, a guest agent and change tracking, and has a first full backup in the list of backup points.
Automation
With the CLI
Rebind an adapter to another network while the machine is powered off. The key of the first adapter is 4000, of the second 4001, and so on. Power the machine on and wait for the task:
kyvernon vm relocate <id> --nic 4000=<network> --wait
kyvernon vm power-on <id> --wait
Change tracking is the setting change_tracking of the configuration, see Edit hardware. The first backup begins a session with "since": "*" for every disk, and you store the change ids when the session completes, see Back up a virtual machine.
With the API
POST /v1/vms/{id}/relocate with the adapter locators, or POST /v1/vms/{id}/reconfigure with the full configuration.
Related
Version 0.1. Last changed: 2026-11-14