Import an OVA or OVF package
Import a virtual machine exported from vSphere as an OVA or OVF package with the console wizard: package, destination, networks, disks.
An import reads the OVF descriptor, plans the virtual machine, creates it and takes one file per disk. When the disks are in, Kyvernon converts them to qcow2 and attaches them, and the machine stays powered off. Migration overview lists what the import carries over. Before you start, prepare the guest (Prepare guests) and export the machine from vSphere as OVF or OVA while it is powered off and without snapshots. Verify the checksums of the package against its manifest (.mf) yourself, because Kyvernon does not verify the manifest. You need a resource group, a datastore with enough space and the Kyvernon networks that the adapters will use. The import checks VApp.Import and Resource.AssignVMToPool on the resource group, Datastore.AllocateSpace on the datastore, the privilege to create virtual machines on the folder and Network.Assign on the connected networks.
In the console
On the home page, select Import and export, or select Import OVA or OVF under More actions of a host.
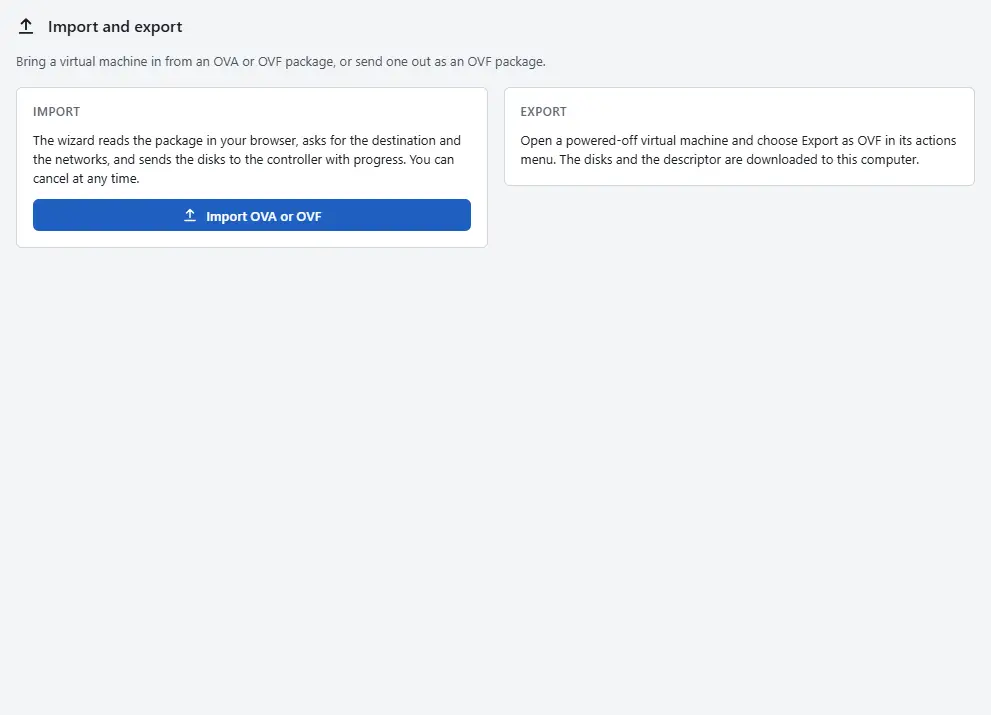
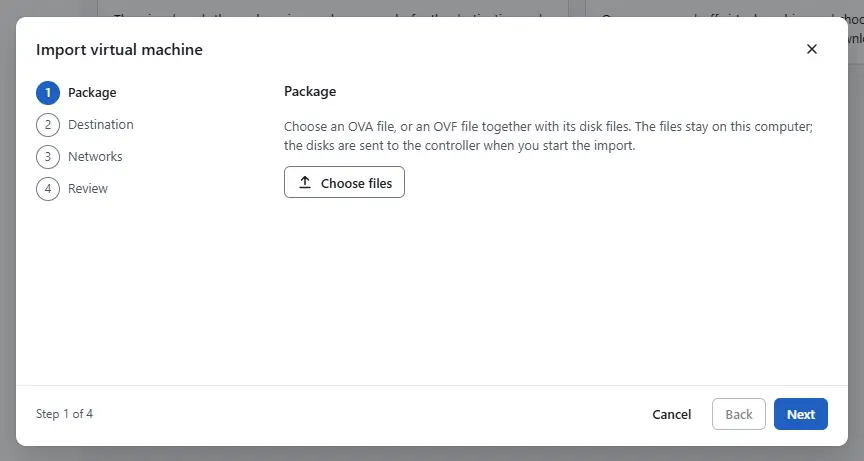
- Select Import OVA or OVF. The wizard Import virtual machine opens with four steps.
Package: select Choose files. Choose an OVA file, or an OVF file together with its disk files in one selection. The files stay on your computer, and an OVA is read in place without unpacking it. The console shows Chosen files and, once the descriptor is read, its name, the download size, the deployed size and the number of networks. When the package lacks a disk that the descriptor names, the console lists it and you add the file.
- Destination: enter the Name of the virtual machine, which overrides the name in the package. Choose the Resource group, the cluster and resource group the machine joins, and the Datastore. The console compares the free space of the datastore with the space the machine needs. Optionally choose the Folder and the Host, or leave Let the controller choose.
- Networks: connect each network of the package to a network of the cluster. An adapter whose network stays Not connected is left out of the machine, with a warning in the review.
- Review: check the Processors, the Memory, the Network adapters and the Disks, with the datastore path of each. Select Start import.
- Keep the page open while the disks are sent. It shows the progress per file, and Cancel import stops the import. When the import ends, select Open the virtual machine.


The disk formats that the controller converts, and what it refuses, are in Import a VMDK disk.
Result
The virtual machine is in the inventory, powered off, with its disks as qcow2 images on the datastore. Continue with After the import.
Automation
With the CLI
Unpack an OVA. An OVF package is already a directory with the descriptor and the disk files:
tar -xf appliance.ovaRead the descriptor to see the networks and the devices it names. The descriptor goes into a JSON body, which jq builds:
jq -n --rawfile ovf appliance.ovf '{ovfDescriptor: $ovf}' > parse.json
kyvernon ovf parse --body-file parse.json
Build the import body. datastoreId is the target datastore, entityName overrides the name of the virtual machine, and networkMapping maps each network name of the package to a network of Kyvernon:
jq -n --rawfile ovf appliance.ovf '{
  ovfDescriptor: $ovf,
  datastoreId: "datastore-3",
  entityName: "app-01",
  networkMapping: [{name: "VM Network", networkId: "network-4"}]
}' > import.json
Show the plan without creating anything, with resourcePoolId added to the body, and read the warnings and errors of the answer. Then start the import. The answer is the lease, and files lists the disks, each with a name and requireUpload:
jq '. + {resourcePoolId: "resgroup-1"}' import.json > spec.json
kyvernon ovf import-spec --body-file spec.json
kyvernon ovf import-vapp --pool resgroup-1 --body-file import.json
Upload each disk file under the name the lease shows, then complete the lease:
kyvernon nfc upload <lease-id> disk-0.vmdk appliance-disk1.vmdk
kyvernon nfc get <lease-id>
kyvernon nfc complete <lease-id>
nfc get shows the state (initializing, ready, done or error) and the transfer progress; once the lease is done, entityId is the id of the new virtual machine. kyvernon nfc abort <lease-id> cancels the import.
With the API
| Step | Request |
|---|---|
| Read the descriptor | POST /v1/ovf/parse with ovfDescriptor |
| Plan | POST /v1/ovf/import-spec with ovfDescriptor, datastoreId, resourcePoolId, entityName, networkMapping |
| Start | POST /v1/resource-pools/{id}/import-vapp with ovfDescriptor, datastoreId, entityName, deploymentOption, networkMapping, folderId, hostId |
| Upload a disk | PUT /v1/nfc-leases/{id}/files/{name} with the file as the body |
| Progress | GET /v1/nfc-leases/{id}, POST /v1/nfc-leases/{id}/progress |
| Complete or cancel | POST /v1/nfc-leases/{id}/complete, POST /v1/nfc-leases/{id}/abort |
folderId places the virtual machine in a folder (default: the virtual machine folder of the datacenter) and hostId on a host. The plan of an OVF with several deployment options uses the option named in deploymentOption, or the default one. Tools that import through the vSphere API (ImportVApp and the upload to /nfc) use the same function. The operations that the verified tools ran, listed in Compatibility, do not include an import: test it with a small virtual machine first.
Related
Version 0.1. Last changed: 2026-11-14