First sign-in
Sign in to the web console for the first time, choose a new password, set up two-step verification and choose the language.
This lesson takes you through the first sign-in to the web console: the new password, two-step verification, the session and the language. It assumes the control plane is installed and the console is published at an address such as https://controller.example.com, and that you have the bootstrap password that was set during the installation, see Install. First virtual machine continues from here.
In the console
Sign in
- Open the address of the console in a browser.
- Enter the User name
adminand the bootstrap password in Password. Select Sign in.
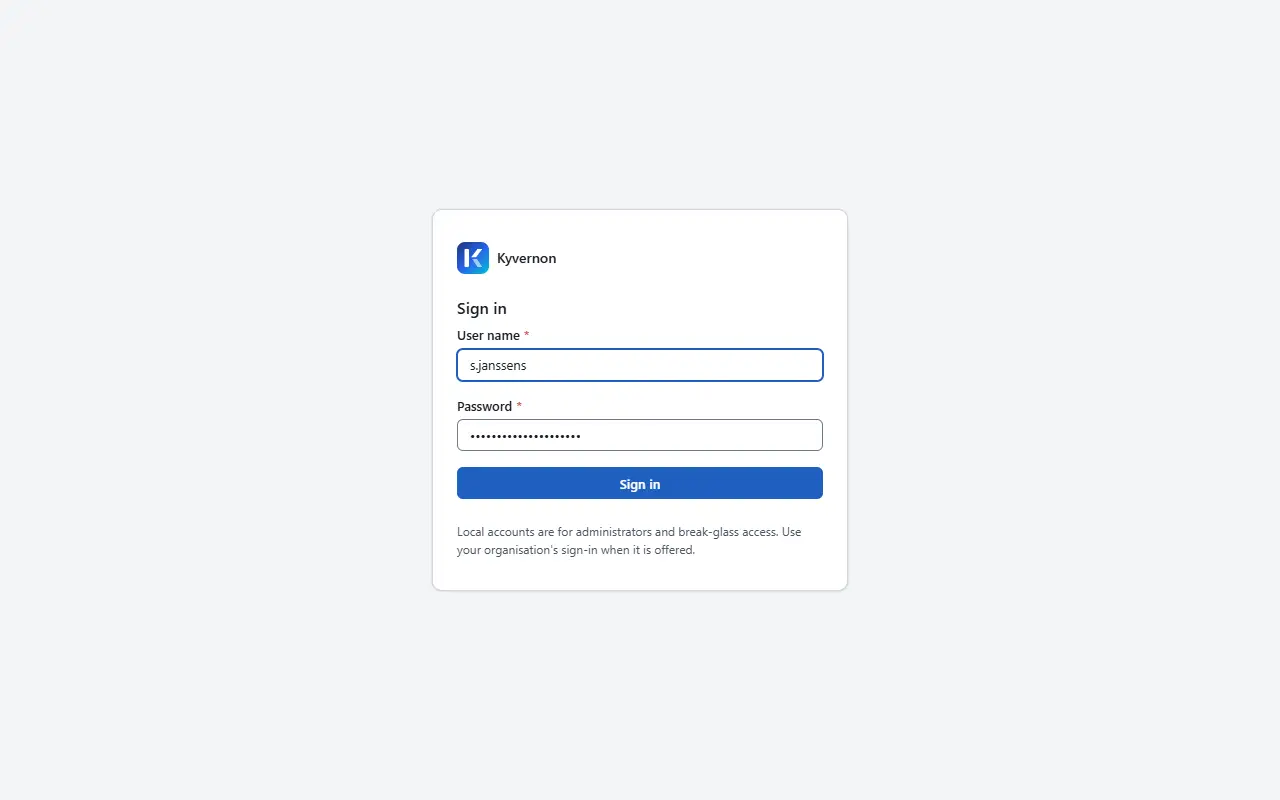

If your organisation has connected an identity provider, the page also shows a button named after the provider (Sign in with your organisation). Use it for your own account. The local admin account is for the setup and for emergencies.
When the user name or the password is wrong, the page says so without telling which of the two. After ten failed attempts within 15 minutes the account is blocked for 15 minutes; an administrator can change both values. The page tells you how long to wait.
Choose a new password
The bootstrap password has to be replaced before anything else works. The page Choose a new password asks for it.
- Enter the bootstrap password in Current password.
- Enter the new password in New password and again in Confirm the new password. It has 12 to 256 characters and does not contain your user name.
Select Change password.
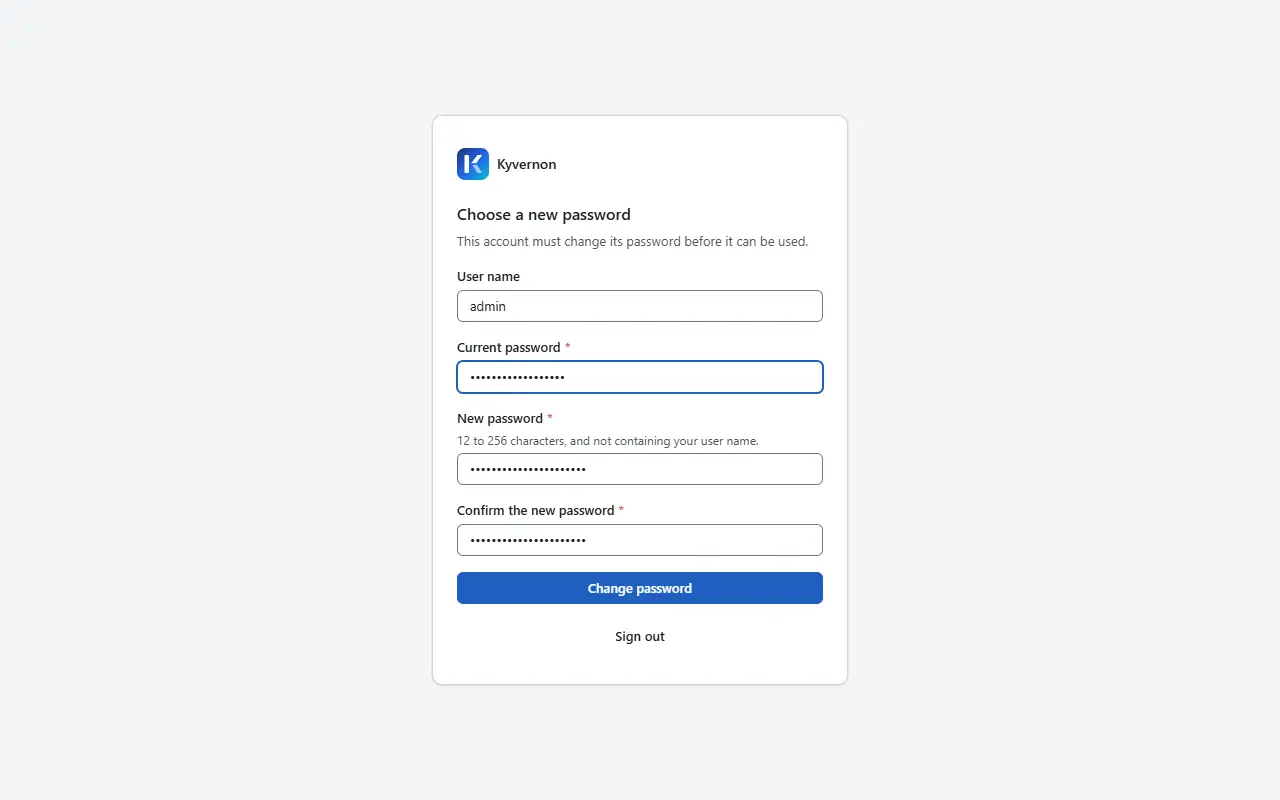

Your password manager can generate and store the new password: the fields are marked so that it recognises them.
Set up two-step verification
Administrators sign in with a password and a six-digit code. After the password change the page Set up two-step verification appears.
- Open an authenticator app on your phone. Any app that supports time-based codes works.
- Scan the QR code. If you cannot scan it, type the key shown under Or type this key into the app: into the app.
Enter the six digits the app shows in Code from the app and select Turn on two-step verification.
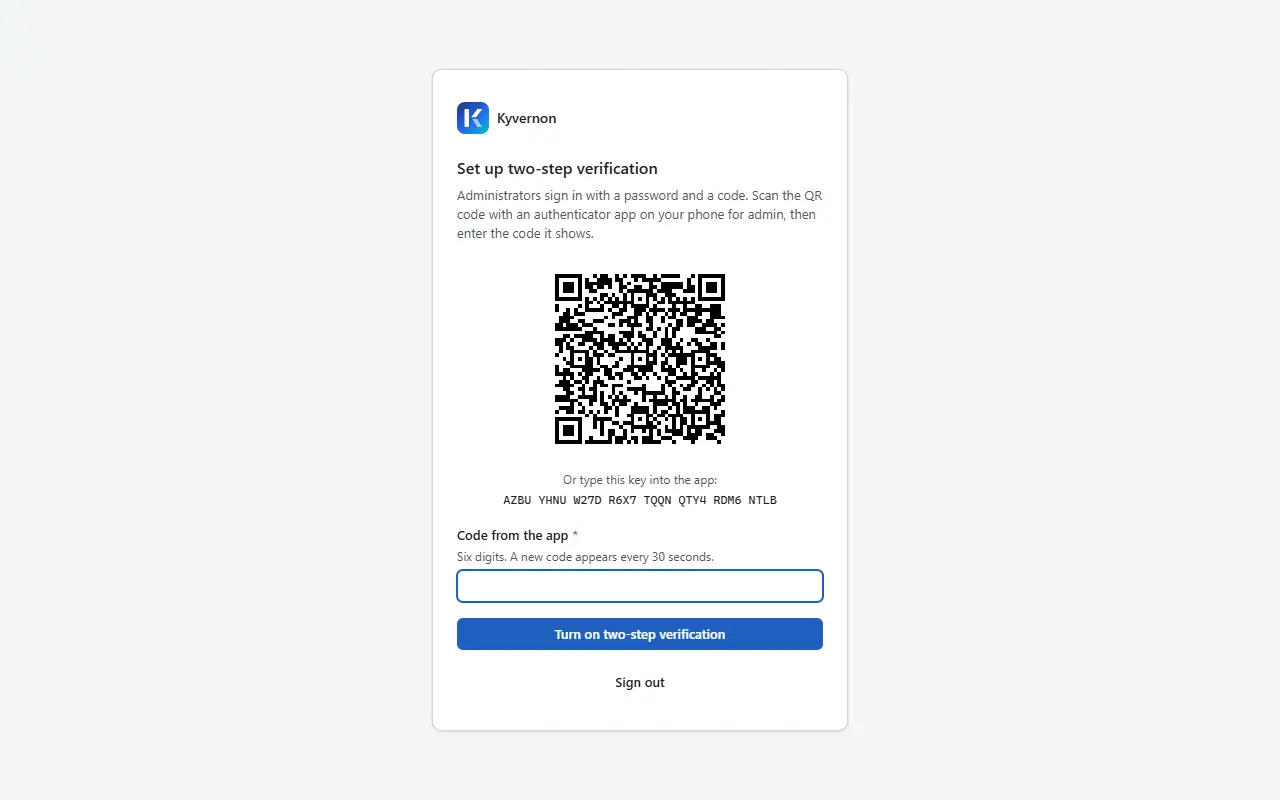

The QR code is drawn by your browser and the key is not sent to any other service. Keep the key private.
The page Save your recovery codes follows. Each of the codes replaces the app code once, for the case that you lose your phone. They are shown only now. Select Copy the codes or print them and store them where you keep your recovery information, select I have stored these codes in a safe place and then Continue.
From now on every sign-in asks for the code of the app after the password, on the page Two-step verification.

The home page and your session
After the sign-in the home page shows the inventory on the left, the open alarms and the recent tasks.

- After 15 minutes without keyboard or mouse activity you are signed out. A dialog asks for your password and code again, and what you were doing stays on the screen, including half-filled forms.
- Reloading the page continues your session while it is valid.
- Sign out in the user menu at the top right ends the session on the server.
Language and display
The console is available in English, Dutch, French and German.
- Open the user menu at the top right, under your name.
Under Language, choose English, Nederlands, Français or Deutsch.
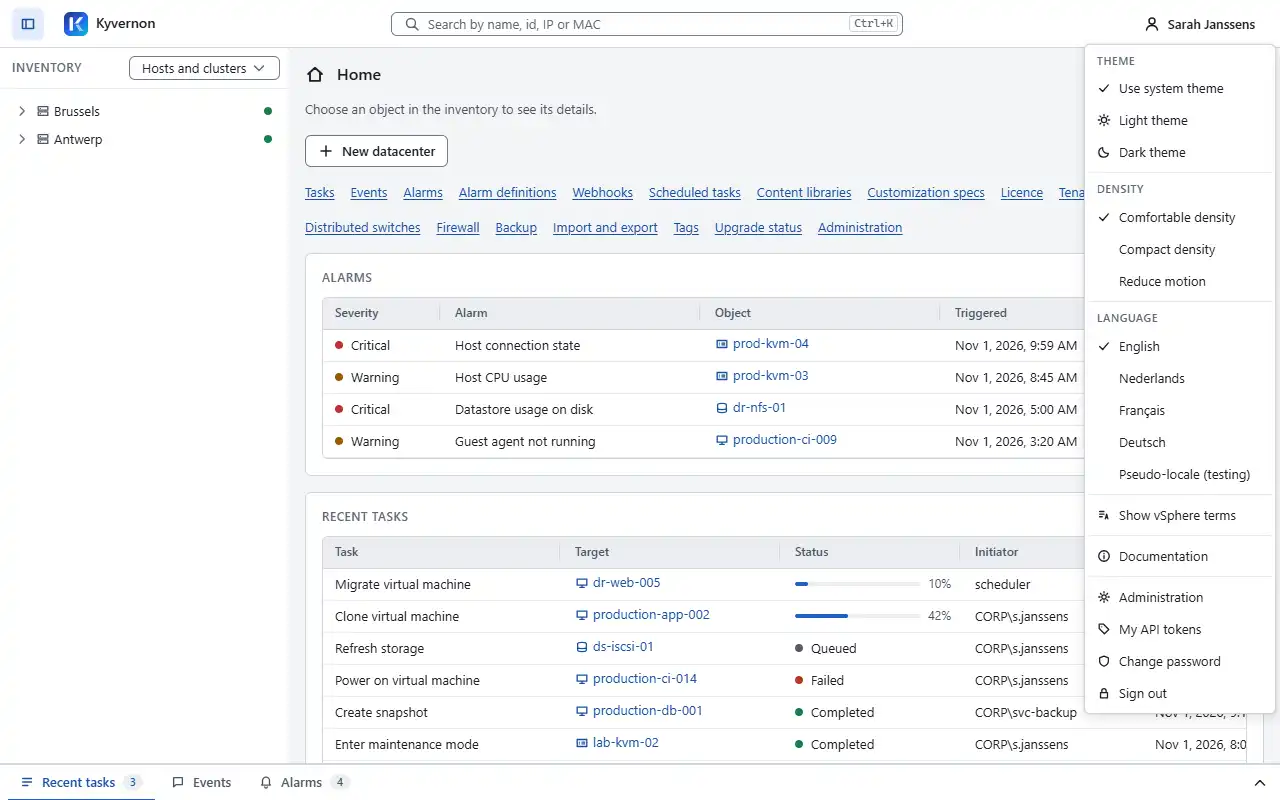

The page changes at once, including dates, numbers and sizes. The choice is remembered in this browser. Until you choose, the console uses the first language of your browser that it offers, and English otherwise.
The same menu has Theme, Density and Reduce motion. Show vSphere terms adds the vSphere name next to each Kyvernon term, for example "Resource group (Resource pool)", while your team gets used to the new names. The vSphere names are not translated. Change password opens the dialog to change your own password later.

Result
You are signed in with your own password and two-step verification, and you know where the language, the theme and the sign-out are.
Next steps
- First virtual machine
- First CLI session: the command line signs in with the same account.
- API tokens: a token replaces the password and the code for scripts.
- Sign-in security
Version 0.1. Last changed: 2026-11-14